


TIME REQUIRED: 1 Hour | DIFFICULTY: Average
Financing for a studio upgrade is usually limited. The good thing is that you can make up for tons of forms, and they don't have to include depriving yourself of consuming delicious foods for weeks on end! Building a DIY gaming studio system is one of the best ways to minimize costs for gamers on a limited budget. Since most gamers are not as good as carpenters, we've put together a few basic tips on how to help you create your gaming studio.
It takes considerable sweat and time to build your gaming studio for you to accomplish your dream gaming setup. As you hack away at building your studio, try not to lose momentum or get irritated. You'll finally have your gaming room when you're done, which you can access quickly, where you can play and stream whenever you want.
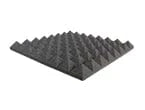
A technology and gaming content developer, according to a ScatterVolt , shares that you can still accomplish a gaming setup at the professional level by only getting the basic materials. Hi share in his video that adding an acoustic foam to your studio can make the studio look more professional.
3 Simple Steps to Work at Peace:

Hunt for the right spot
This is one of the things that people don't know, but they talk about where you can put it in your room. You can waste a lot of money there because wherever you go, it'll be as relaxed, open, and friendly as possible. If you're slipping out of your home, or you don't like the way the guest room sounds, just make it palatable for yourself or put your workspace elsewhere. Set up a workspace that you know you would be hesitant to use.

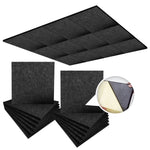
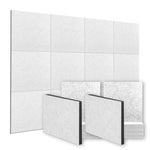
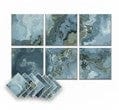
Get the acoustic foams ready
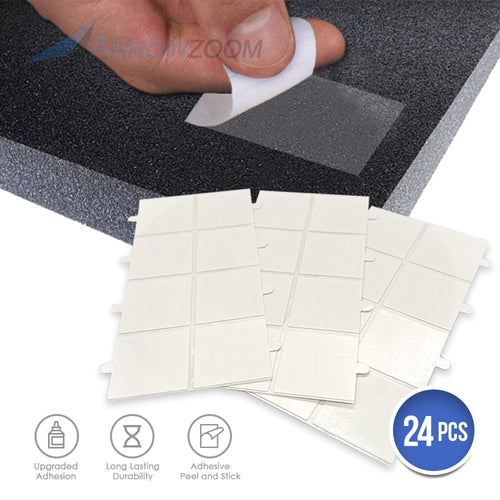
In a vacuum seal, restore the Arrowzoom Hemisphere Grid Foams to their original form by removing them from the box. Let it sit in a wide-open area for around 24-48 hours, or soak it in water and let it dry up. Water is a powerful part of the foam form or restoration. If the foams have returned to their original shape, you can now apply Arrowzoom Sticky tabs to each of the foam corners. To expose the adhesive, peel away from the paper label. Make sure that the place where the foam is being placed is dust free and clear. Make sure the tape's adhesive side is not contaminated with waste.

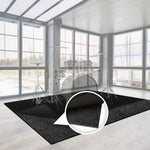
Have the foams mounted.
When all the sticky tabs are applied to the acoustic foams, carefully line up the foams in the area where you want to position them. When mounting the foams, use pressure on the wall, then press to keep the wall for about 30 seconds. To make it more exciting and professional-looking, you can also put LED lights between your acoustic foams in this section.
Constructing your own home gaming studio is not always fast and easy. But with a bit of patience, a few videos on YouTube, and probably a few tests, you're going to be on the right track to enjoy the gaming studio you made on your own.
USE 10% CODE:AZ-SCAT